VSCode Pro Tip: Recover Accidentally Deleted Files from Local History
Accidentally deleted important files in VSCode? Learn how to recover them from VSCode's Local History using a simple JavaScript script.

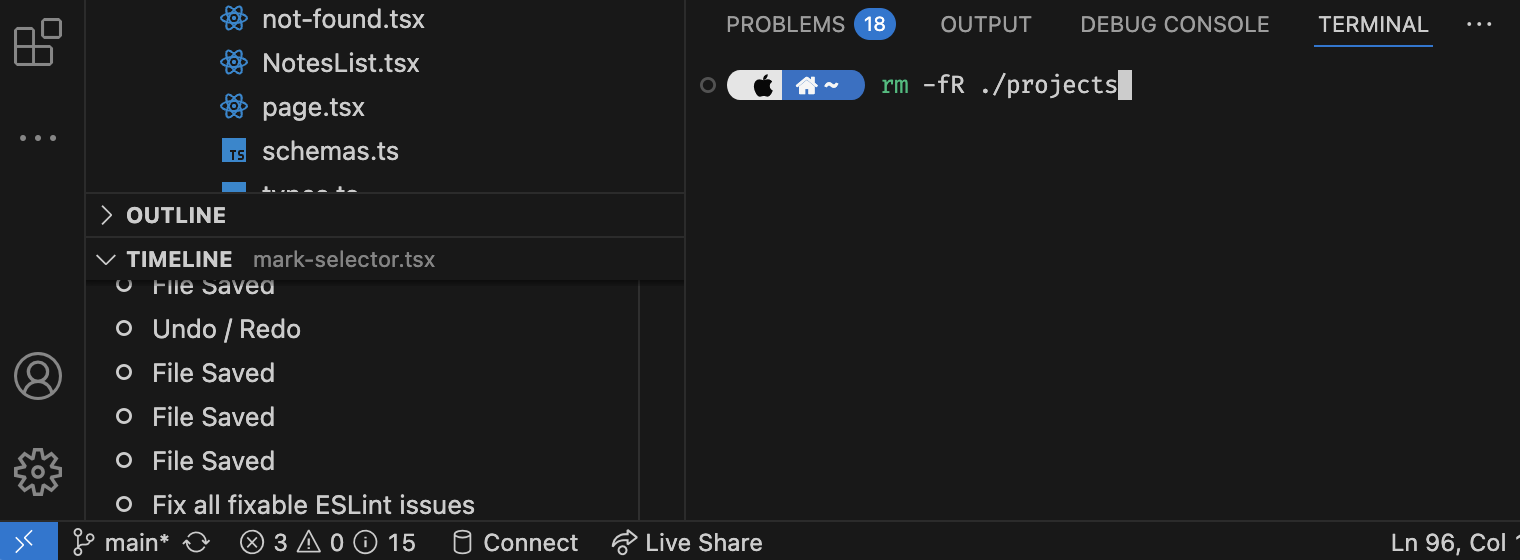
Well, some of us have been there — that heart-stopping moment when you realize you have accidentally deleted important files or even entire projects, especially with non-recoverable methods like rm. Although I have never made a mistake in rm -rf-ing my projects, I did accidentally use npm create in the wrong path, which overwrote my entire directory of projects twice. However, if you are using Visual Studio Code, don't panic! There's a good chance you can recover your work using VSCode's built-in Local History feature, which maintains a timeline of your edited files.
The Recovery Process
Step 1: Preserve the Local History
First things first: you might want to close all VSCode windows that have any project folder open. Although in my experience, VSCode won't delete the Local History if it thinks a project no longer exists, it is still safer to prevent any conflict.
Step 2: Create a Recovery Script
For this step, you will need Node.js. Create a new file named recovery.js in a separate directory (not in the location where you want to recover files). Copy and paste the following template into recovery.js:
import { cp, readFile, readdir } from "fs/promises";

const PATH_TO_LOCAL_HISTORY = "(CHANGE ME)";

const dirs = await readdir(PATH_TO_LOCAL_HISTORY);
for (const dir of dirs) {
  try {
    const entries = JSON.parse(
      await readFile(`${PATH_TO_LOCAL_HISTORY}/${dir}/entries.json`, {
        encoding: "utf-8",
      })
    );
    const resource = entries.resource;
    const id = entries.entries.at(-1).id;

    // Example: only restore files from a specific directory
    if (!resource.startsWith("file:///Users/kapui/Documents/Coding/")) continue;
    // Add your custom filter conditions here

    await cp(`${PATH_TO_LOCAL_HISTORY}/${dir}/${id}`, new URL(resource));
    console.log(`Copied "${dir}/${id}" to "${resource}"`);
  } catch (e) {
    console.error(new Error(`Failed to process "${dir}"`, { cause: e }));
  }
}
Step 3: Understanding and Configuring the Script
Let's break down how this recovery script works:
- The script reads VSCode's Local History directory, which contains all your file history. In the template you just copied and pasted, replace
(CHANGE ME)with:- macOS:
~/Library/Application Support/Code/User/History - Windows:
%APPDATA%/Code/User/History - Linux:
~/.config/Code/User/History
- macOS:
- For each subdirectory in the Local History folder:
- (Each subdirectory represents a file's history; subdirectories are named by VSCode through hashing the file's URI)
- The script reads the
entries.jsonfile, which contains metadata about that particular file's history - Extracts the original file path (
resource) and the latest version ID - Uses these to copy the file back to its original location
- Modify the filter condition (
resource.startsWith()), which determines which files get restored:
if (!resource.startsWith("file:///Users/kapui/Documents/Coding/"))
  continue;
This line checks if the file path starts with a specific pattern. In this example, it only restores files from the /Users/kapui/Documents/Coding/ directory. You can modify this to match any path pattern you want to recover. For example:
- To recover files from a specific project:
file:///path/to/your/project - To recover files with a certain extension:
.endsWith(".js") - To recover all files that you have ever modified in VSCode: Remove the if condition entirely
Step 4: Run and Review
Keep in mind that only previously modified files will be restored, as unmodified files won't be in the history. You might also see some previously deleted or moved files restored, so some manual cleanup might be needed to organize the recovered files.
Now, run the script and wait for it to complete. You should see output indicating which files were recovered.
More about VSCode's Timeline Feature and Local History
The Timeline feature, introduced in Visual Studio Code version 1.44 (March 2020), is a sophisticated local history system that automatically tracks changes to your files. When you edit a file, VSCode creates a new history entry containing the timestamp, content hash, file metadata, and complete file content, within the Local History directory.
In daily use, you can find Timeline in several places within VSCode. A Timeline view is available at the bottom of the Primary sidebar. Alternatively, you can use the Command Palette (Cmd/Ctrl + Shift + P) and type “Explorer: Focus on Timeline View”. The Timeline view shows both VSCode's Local History and version control information, presenting you a comprehensive history of your file changes. For instance, if you're using Git, you'll see both your local edits and Git commits in chronological order.

Prevention is Better Than Cure
To avoid future file loss scenarios:
- Use Version Control: Git or other version control systems are your best friends
- Regular Backups: Maintain backups of your important projects
- Auto-save: Enable VSCode's auto-save feature to minimize the risk of losing unsaved changes
Limitations
The success of file recovery depends on various factors. Only files that were previously opened and modified in VSCode can be recovered. The recovery process is limited by Timeline's storage constraints and retention period. While this recovery method can be a lifesaver, it's not a replacement for proper version control and backup practices.